The Dresser Project
EDIT: I typed this out last summer. It is now January of 2018. I'm just now realizing I never posted it! But, here it is, just for all of the DIY-ers I have!
This spring, I got crafty. Real, real crafty. Don't stress: I'm going to tell you all about it!
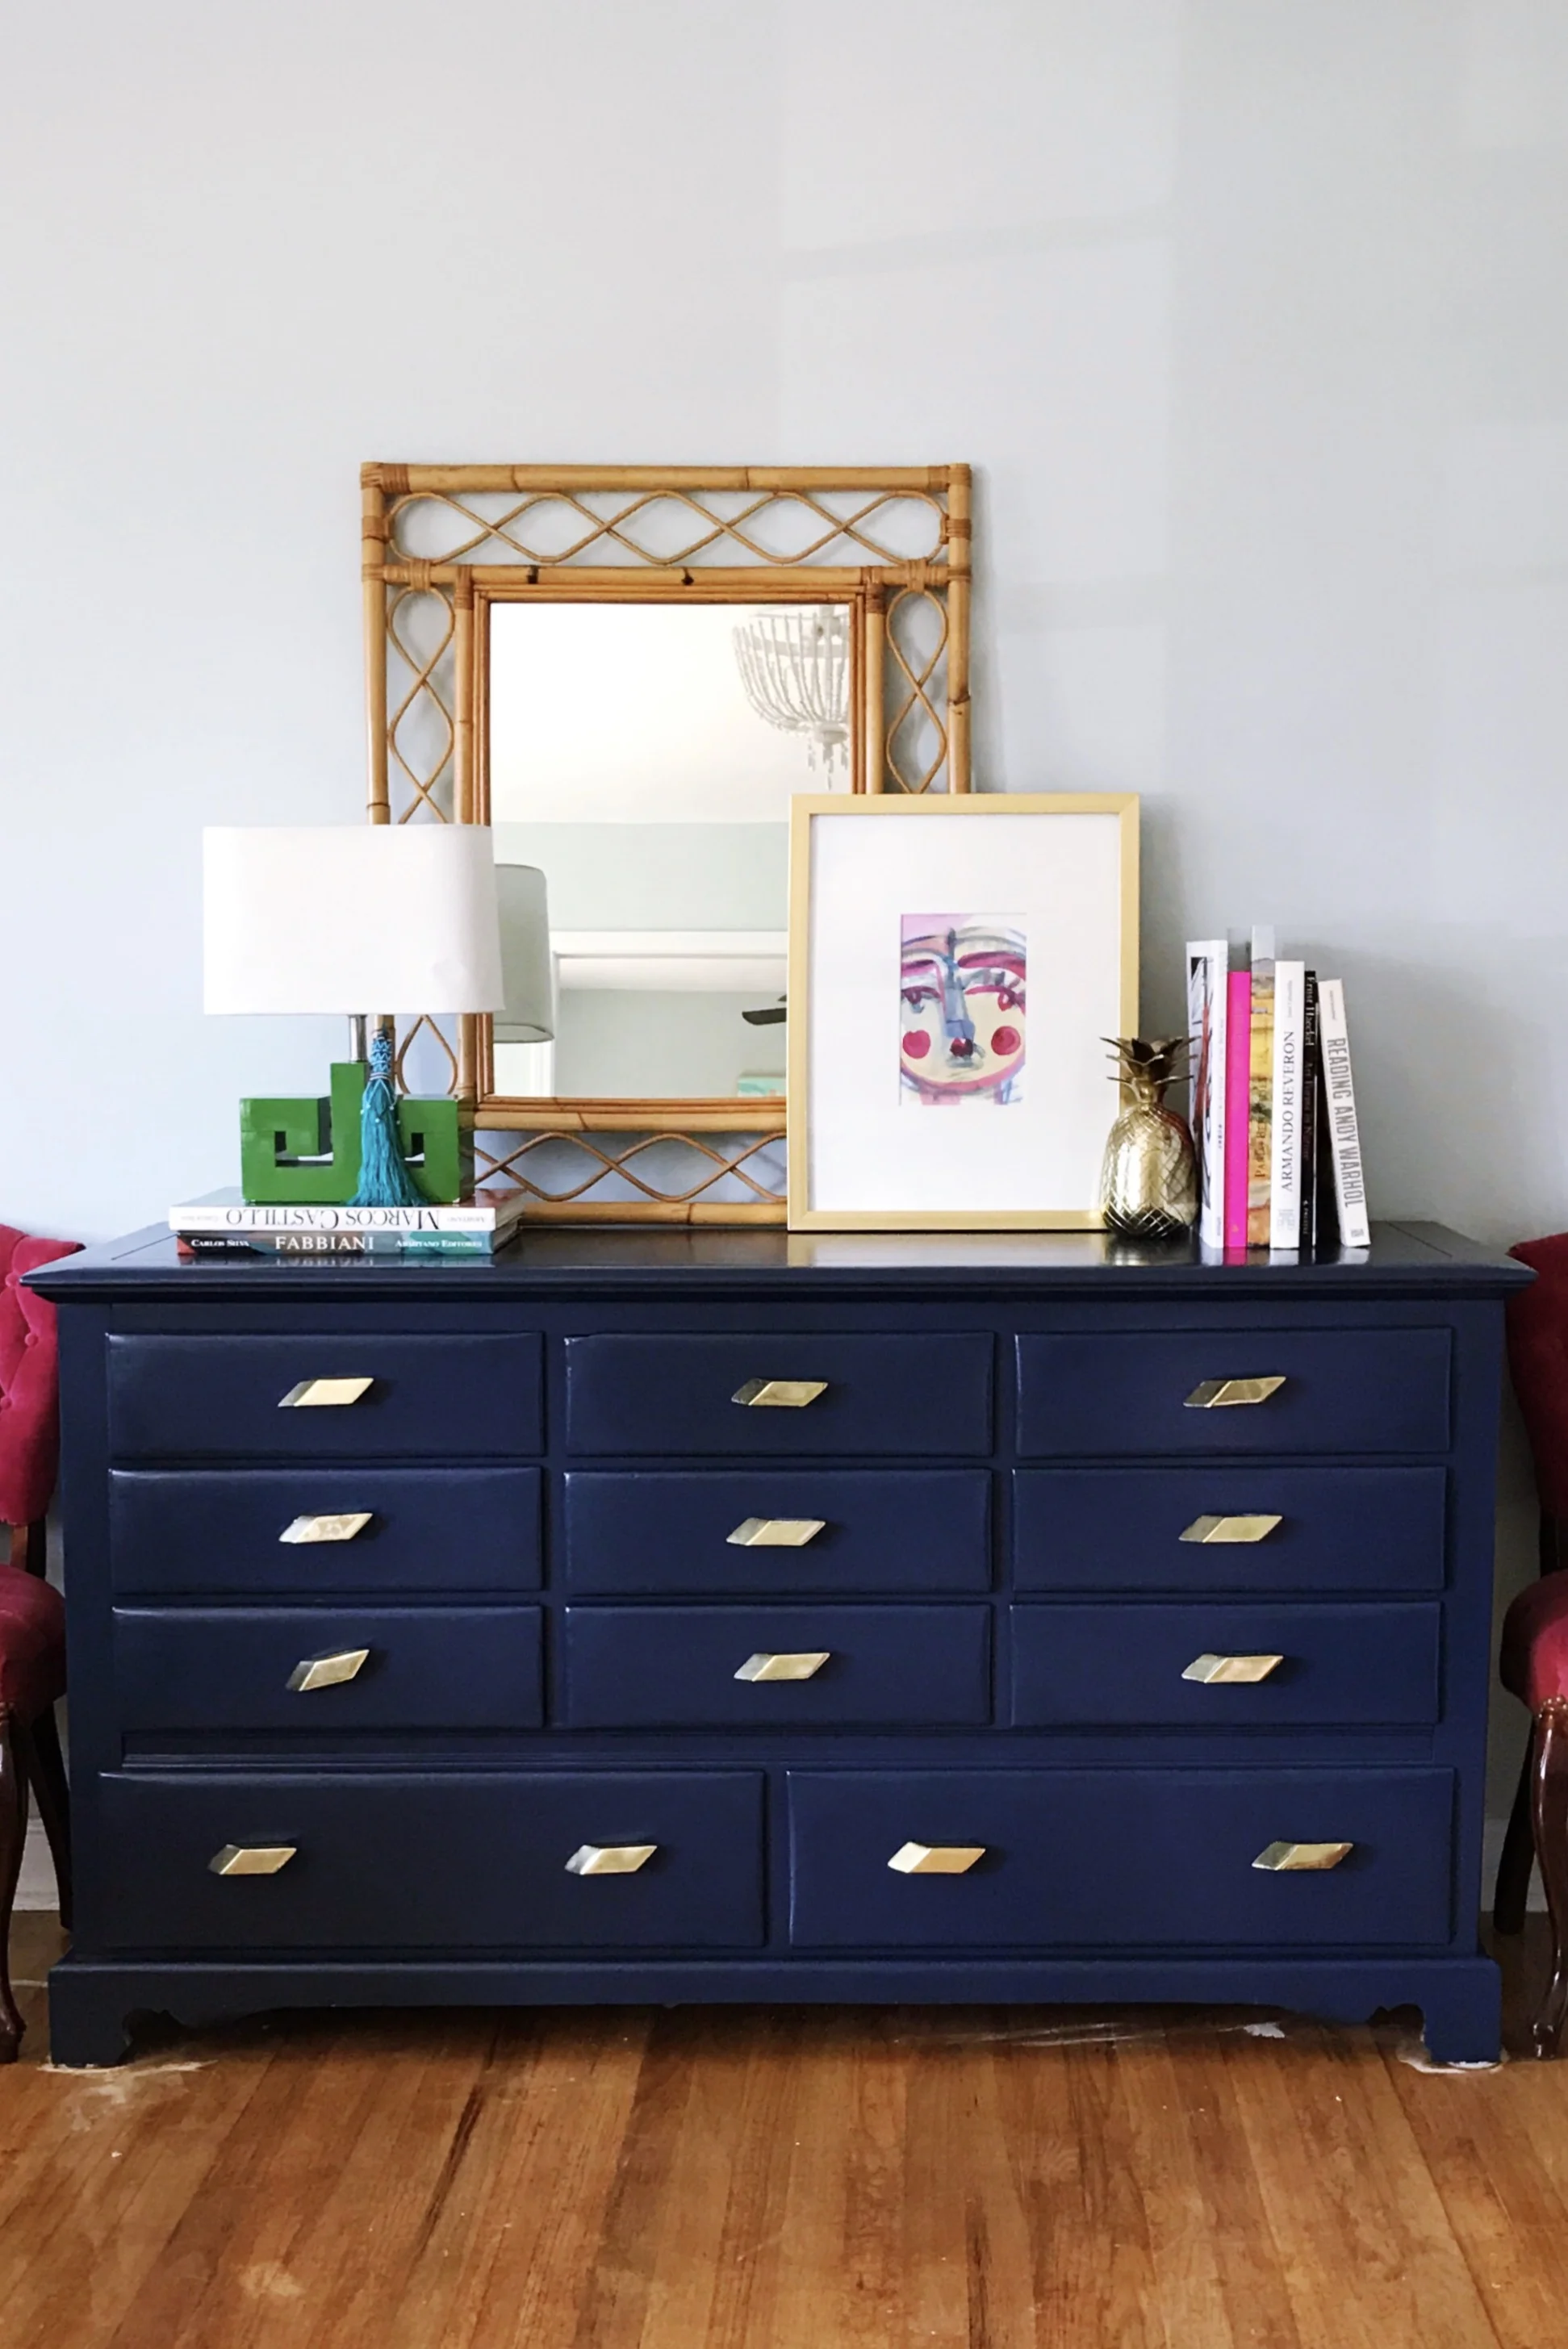
Six years ago, I took the dresser pictured below from my grandmother's house as we were cleaning it. It was a SOLID piece of furniture, but the finish was worn and the handles were missing. Overall, it was a pretty dated piece. Nonetheless, I wasn't ready to say that it couldn't be reused. I took it and vowed to refinish it!
(Note: At the time, I intended for this project to be finished MUCH sooner. It literally took me 6 (maybe 7) years to get it started, and I was finished in a matter of hours. Procrastination at its best, folks!)
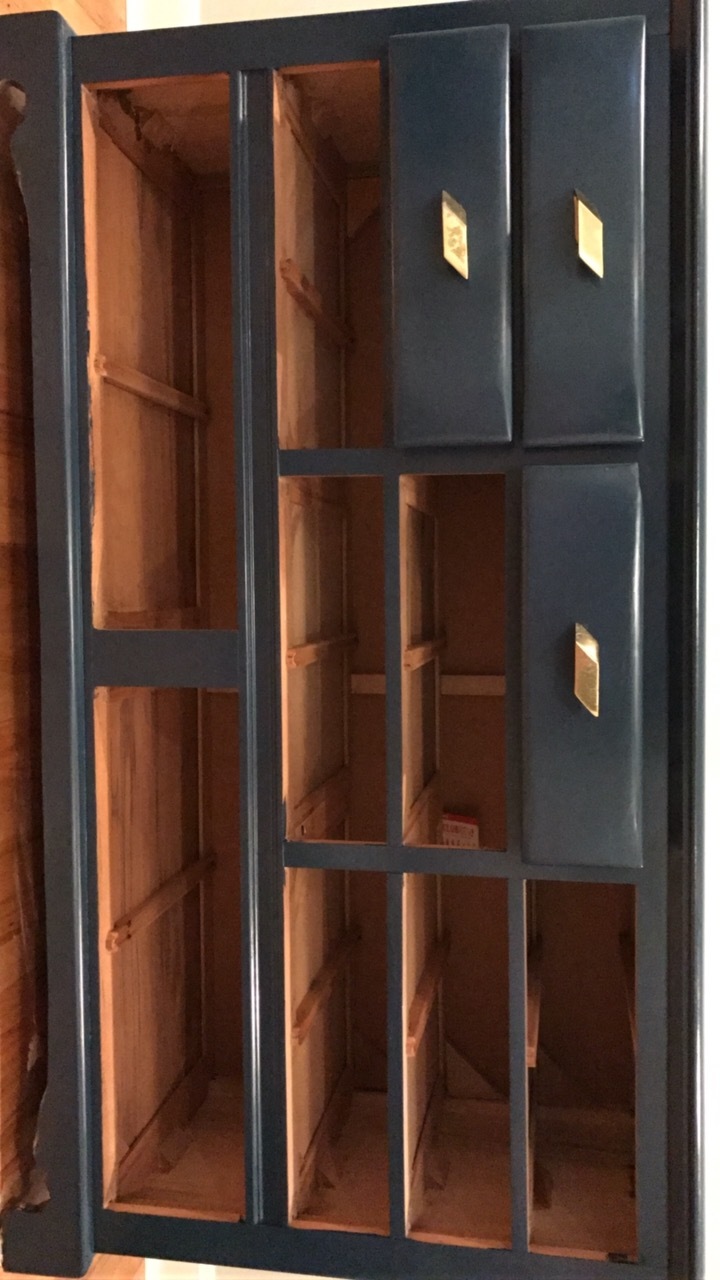
Sometime in 2015, I ran across some gorgeous modern handles at Anthropologie. There were enough for my dresser drawers, and they were on clearance + 30% off, so I snagged them. I knew I would love them! Then, in March of this year, I finally decided to start on this project. I headed to Lowe's and purchased:
1 quart of Valspar High Gloss furniture paint
2 Sandpaper options- one fine, one a little coarser
A paintbrush
Wood spackle- for filling holes. Ask an associate for help with finding the perfect one for your project!
A putty knife
So easy, right? You may not even need the spackle. I'll explain below. You'll also need a damp cloth, dry cloth, and a drill.

The dresser, before, in it's natural habitat.
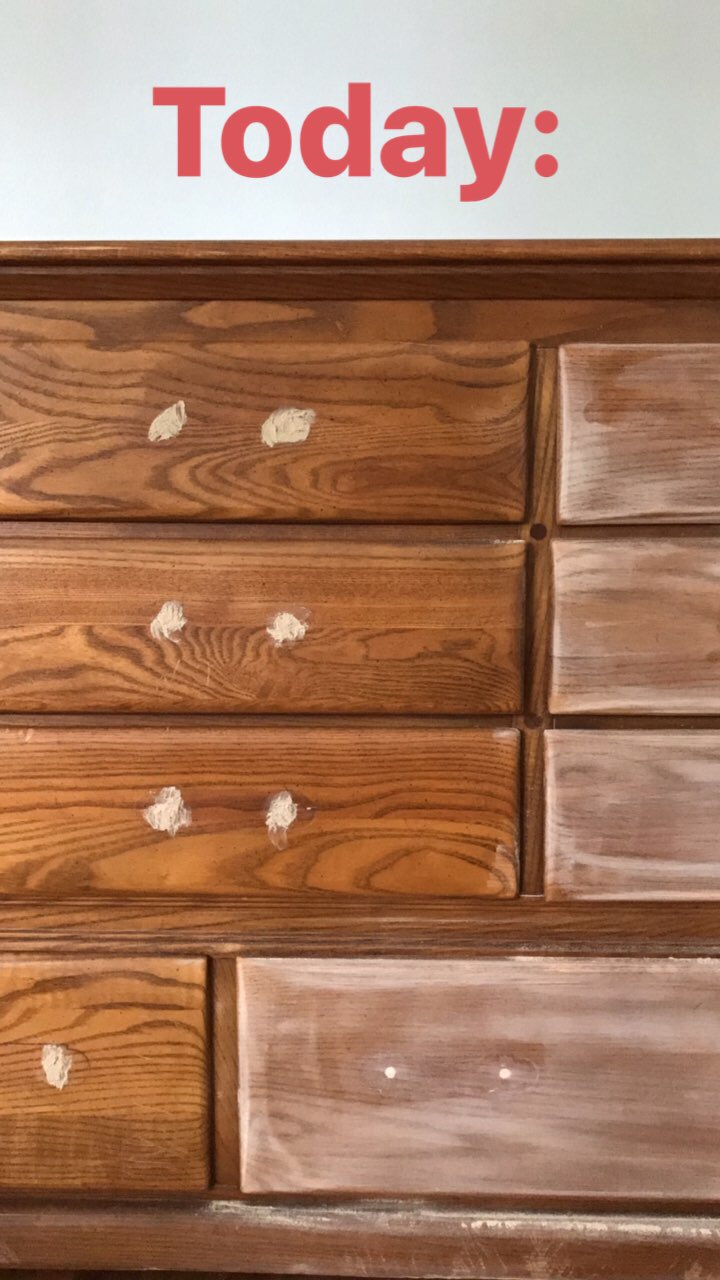
So, the original dresser had handles with two screws- my new handle pick only had one! In order to make it look perfect, I had to fill the original holes, and drill another right in the center of each set of holes. If you have this sort of situation, the first step will be to fill your holes, and let it dry.
Next, you will want to sand down the whole piece lightly. This is **not required** according to the paint can, but from what I read, it will turn out better if you do. Who knows though! I did it.
After your light sanding, wipe down the whole piece of furniture with the damp cloth and allow it to dry. Then, dust the whole piece off fully with your dry cloth.
Last step: paint! I used three coats, allowing them to dry for 2 hours in between each one. After the recommended 24 hours, put your handles on and enjoy!


I'm no contractor, but this DIY was so so simple. I feel like it is 100% better in this space, AND this whole project was under $25.